TABLE OF CONTENTS
Time Tracker Overview
The Time Tracker tool allows you to easily record the hours served by your volunteers and staff at your pantry. You can enter time using two methods:
Decimal Method
- Example: To record two hours and forty-five minutes, enter 2.75. Use a period (.) when entering time in this format.
- This represents two hours and three-quarters of an hour (2 hours and 45 minutes).
Digital Clock Method
- You can also enter time as you would see it on a digital clock.
- Example: Enter 2:45 to represent two hours and forty-five minutes.
Both methods are valid and can be used interchangeably when recording time.
Let's Start
To record the time for someone in your organization, click the Time Tracker tab.
(See image below for reference.)
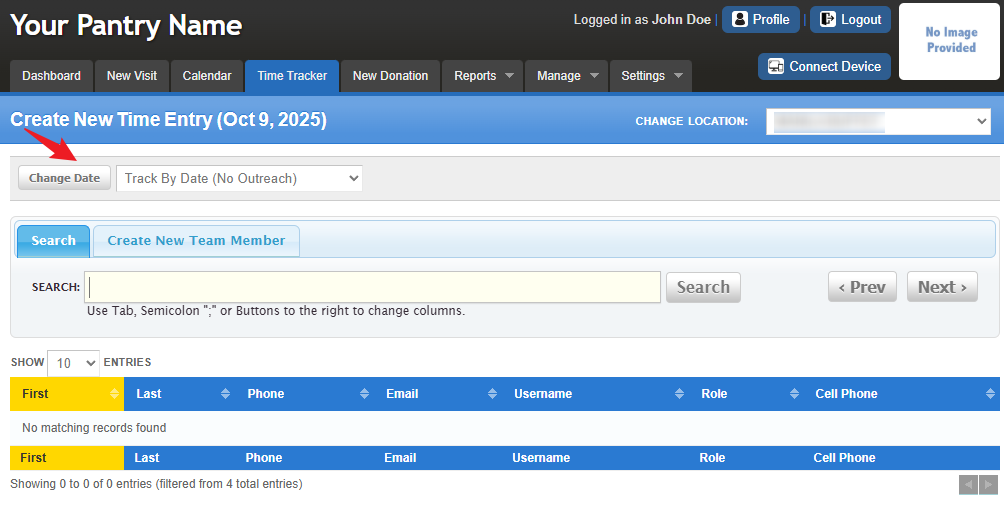
To get started, ensure the date is set correctly. The page automatically defaults to today’s date, which you can see in the blue section just below the Time Tracker tab.
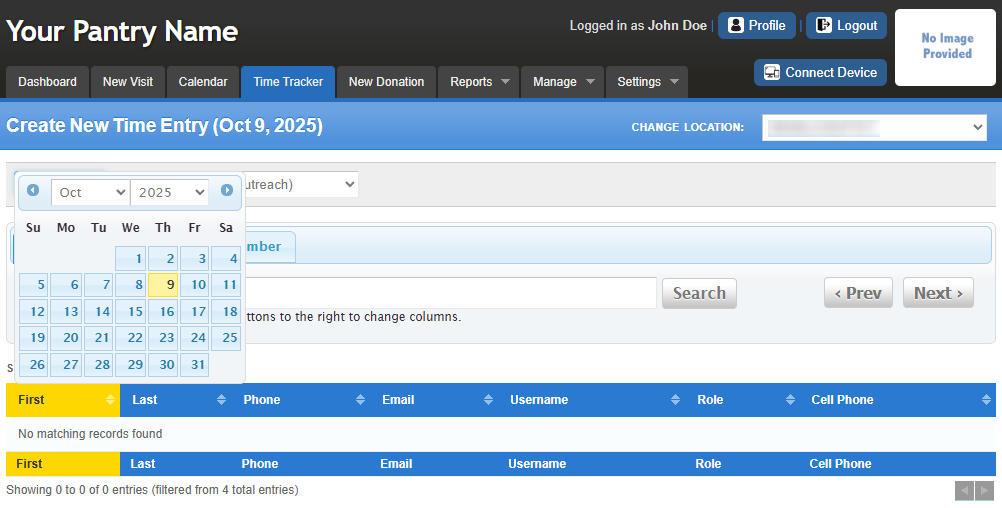
To change the date, click Change Date — a calendar will appear, allowing you to select your desired date. Once changed, the page will display the selected date so you know which day you’re recording time for.
Since FoodBank Manager supports both pre and post-entry of time records, it’s important to have the correct date set to ensure accurate reporting.
Finding the Volunteer
Note: For this article, we are searching by first name, role, home phone and email. You can customize the “search by” options to better suit how your pantry is accustomed to searching. For more information, refer to the article Guide to Searching in FBM.
Search Tips
- Click the Search bar area and use the Tab key so you can switch columns
- Pressing the {TAB} key on your keyboard will give you a semi colon symbol in the Search bar (;)
- Type 2–3 letters of the last name, press {TAB}.
- Type 2–3 letters of the first name, press {TAB} .
- You may already see the guest you’re looking for
- If not found, enter Year of Birth, press {TAB} .
- Still not found? Enter part of the address (house number only recommended).
Once you find the team member you are looking for, click on their name.
Note: If the team member is new to your pantry, click on the "Create New Team Member" tab. Fill out the information and "Save". For more information, refer to the article Manage Team
Once saved, it will default you back to the "Create Time Entry" page for you to record the time.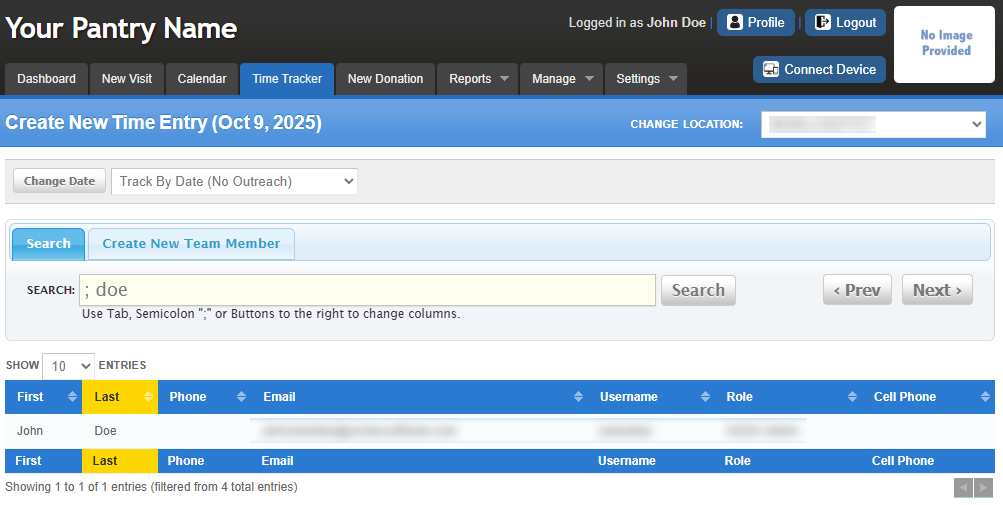
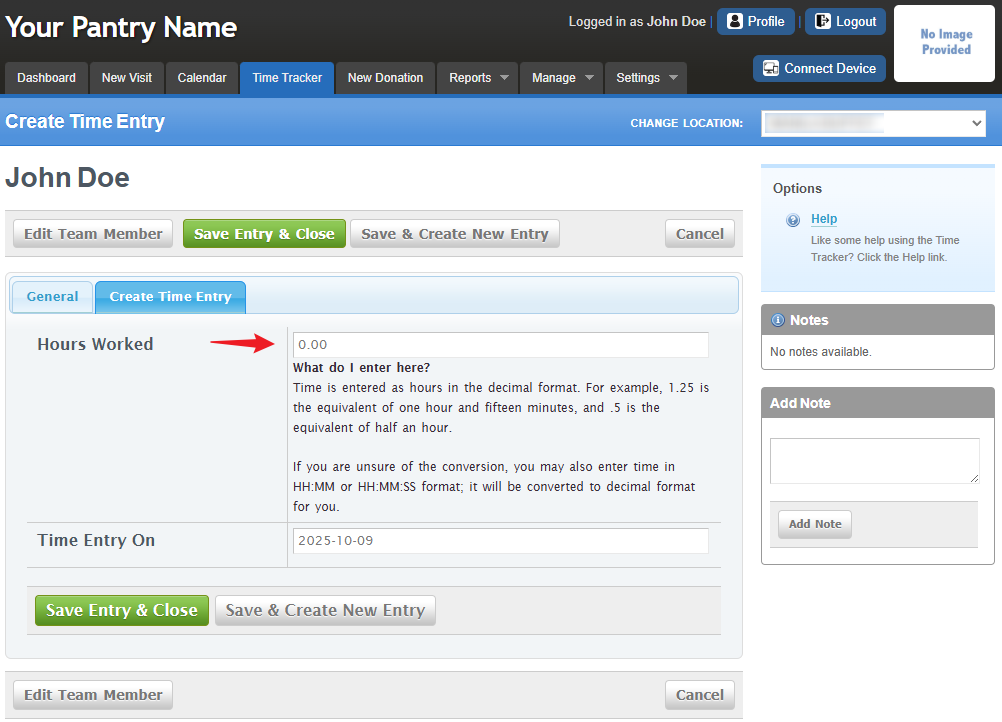
Recording the Time Worked
Record the Hours Worked along with any additional details you’re tracking for time management.
In this example, we’re also recording Mileage and Duties Performed.
After selecting a Team Member, the page will display as shown below.
The Time Tracker provides two options for saving entries:
Save Entry & Close (green button):
Use this option to save a single time entry for the selected team member.
Example: Don worked 3.5 hours as a Food Runner.Save & Create New Entry (white button):
Use this option to record multiple entries for the same team member before saving.
Example: Don worked 3.5 hours as a Food Runner and 2 hours as a Mobile Truck Driver.
This method keeps each entry separate for accurate tracking.

After saving a time entry, the system will automatically redirect you to the Search field.
You will see the team members listed at the bottom of the page. If they don’t appear right away, simply scroll down to view them.
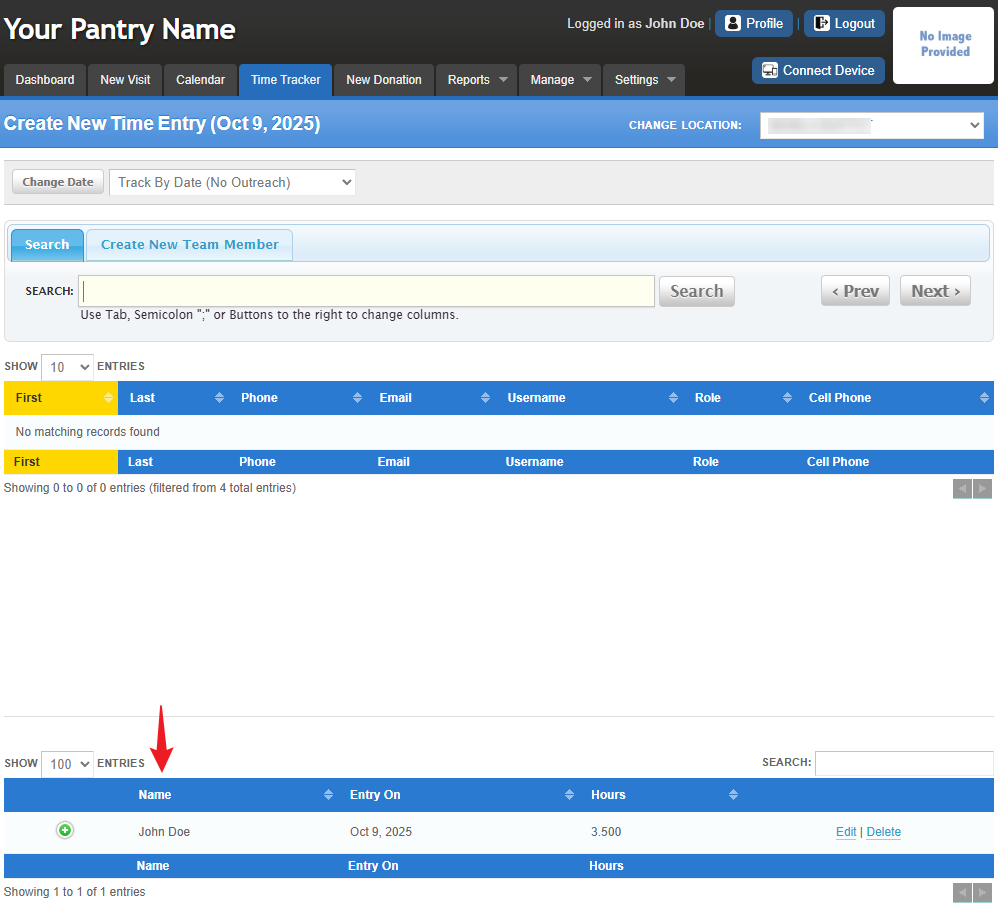
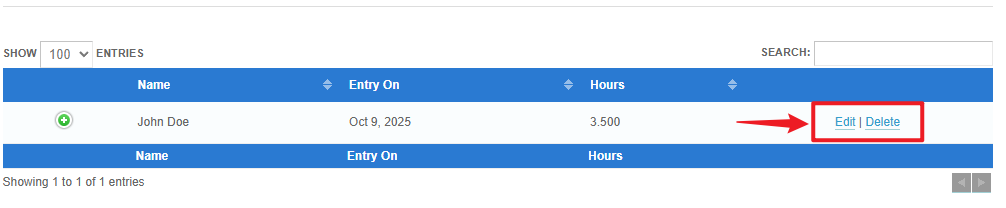
Click the green plus sign (+) next to the team member’s name to view a detailed summary of their recorded time entries.
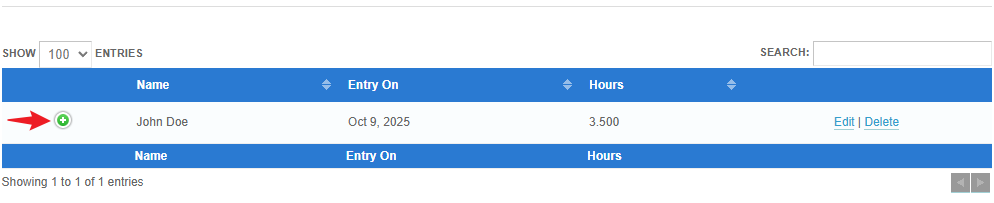
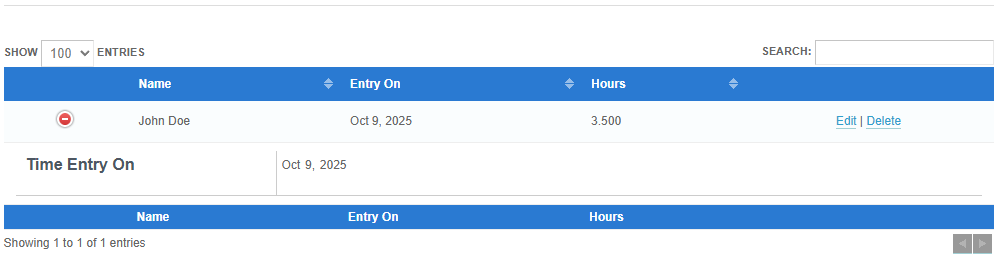
To edit or delete the entry use the fields on the right.
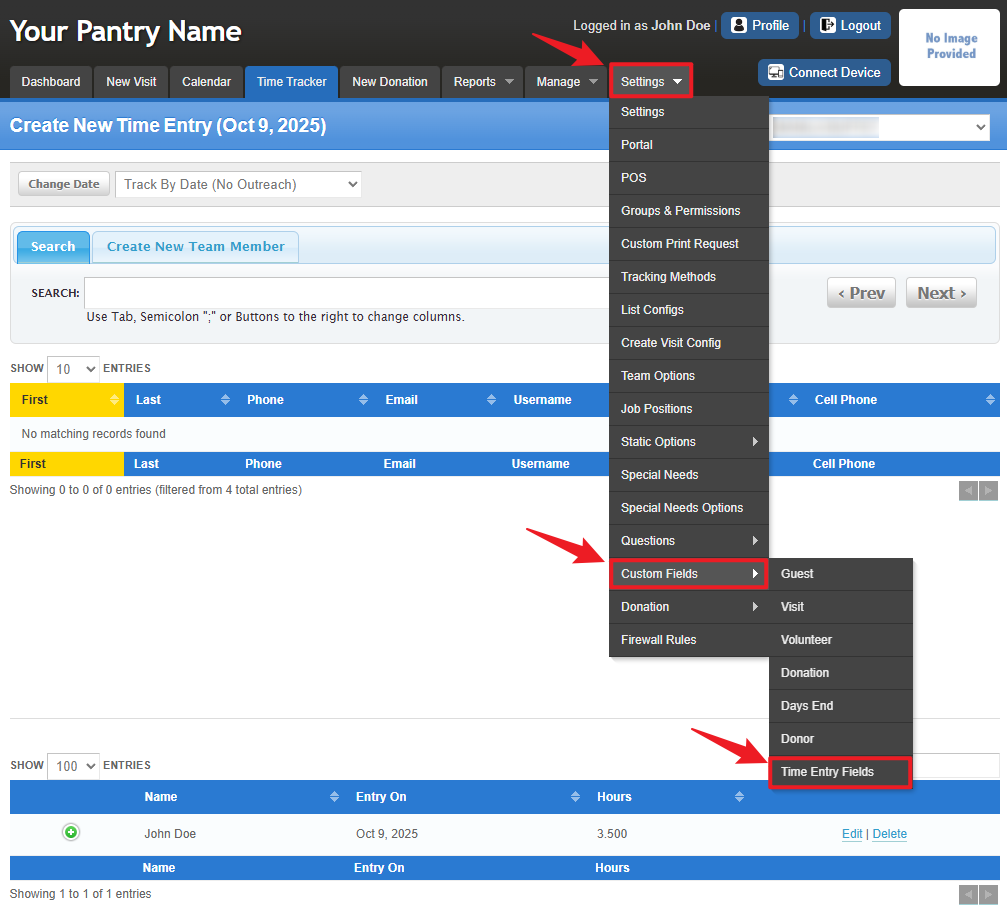
To customize the "Time Tracker" page, go to Settings > Custom Fields > Time Entry Fields.
To learn more about customization using custom fields, CLICK HERE.
Was this article helpful?
That’s Great!
Thank you for your feedback
Sorry! We couldn't be helpful
Thank you for your feedback
Feedback sent
We appreciate your effort and will try to fix the article