TABLE OF CONTENTS
Introduction
Using the menus in the black ribbon, go to “Settings>Settings”, this takes you to the “Food Bank Settings” page.
Here you will find tabs that allow you to manage the settings for the Team record, the Guest record, the Visit, Visit flow, Security and General settings. There is also an Outreach and Calendar tab but we will not be visiting these tabs in this guide.
Team
Click the “Team” tab. This page allows you turn on or off the prebuilt team fields. This is labeled “Team” but it is also for the volunteers as they are part of the team. We will not make any changes here, you just need to know where to go to access team fields when the time arises and you wish to make changes.
Guest
Click on the “Guest” tab. Here you will find many guest record fields that are prebuilt for your use. Several are set to show by default. We will not be making any changes to the section right now. We will be visiting this section later in this guide. Feel free to scroll down and familiarize yourself with the fields available.Don’t forget to save your changes.
Create Visit
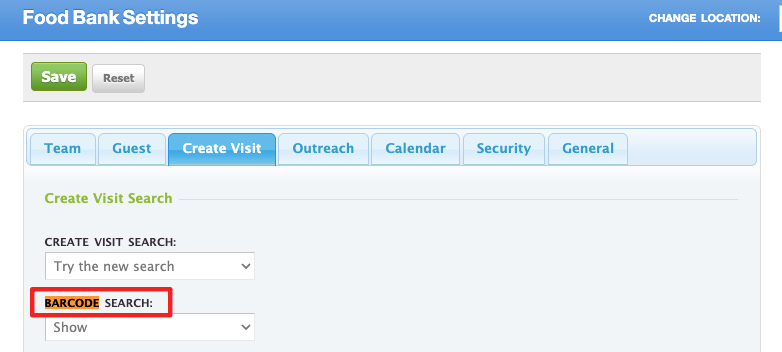
Click the “Create Visit” tab. There are many settings that at some point you will want to change but for this guide we will only make a couple of decisions and the corresponding adjustments accordingly.
Locate the “Barcode Search” field, which should be the second field from the top. If you are going to be using barcodes then leave this to show, if you will not be using barcodes or at least not at this time, change this field to hide, it can always be changed later.
Scroll down to until you see a green label titled “Basic Settings”. These are your visit flow settings, they are being pointed out for future reference but right now we will not make any changes to these settings.
Scroll down to the “Define Age Groups” fields. Using the right-hand column set the top end of each age group you need to report on. If you have more than one requirement for age group ranges be creative in how you set this section. An example: you need to collect 0-18 for one report and 0-5 + 6-18 for another report. Set the groups according to the second report. You can add the two groups together for the first report. There is a max of 9 age groups available.

Security
Click the “Security” tab. The default setting is to lockout a volunteer account for 20 seconds if they tried incorrectly 5 times in a 30 second period. Normally this is adequate but feel free to change this to your specifications. Don’t forget to save your changes.

General
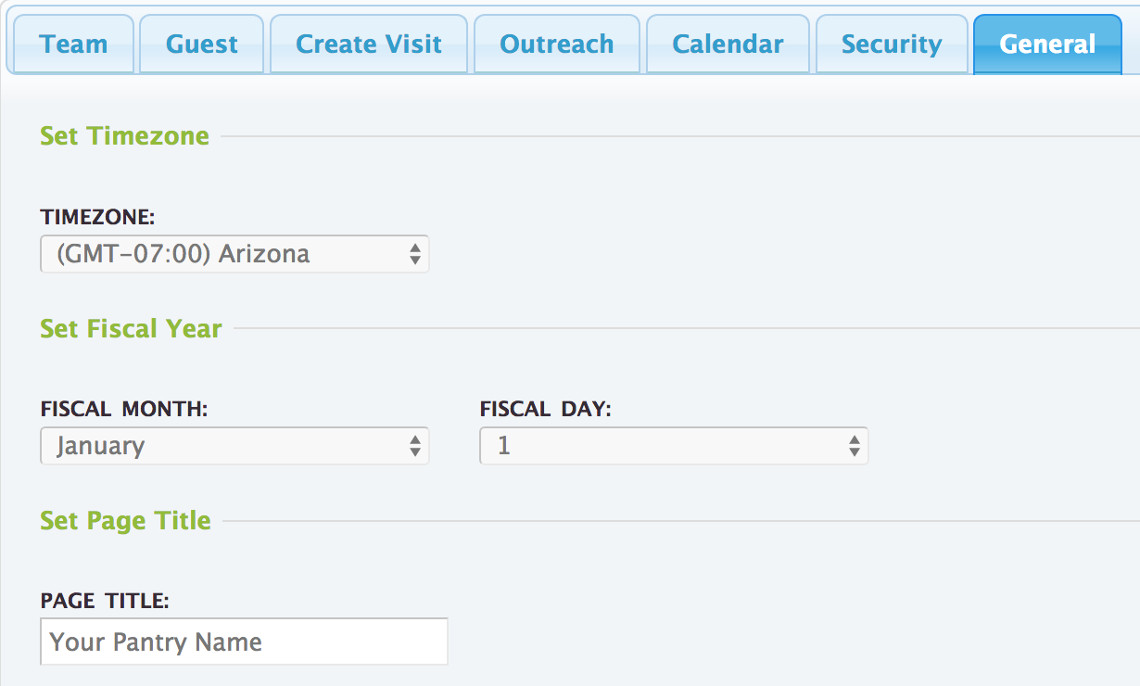
Click the “General” tab. Set your Time Zone, set the first day of your fiscal year and enter your agency name in the “Page Title” field. Don’t forget to save your changes.
Don’t forget to save your changes.
Was this article helpful?
That’s Great!
Thank you for your feedback
Sorry! We couldn't be helpful
Thank you for your feedback
Feedback sent
We appreciate your effort and will try to fix the article